

Table of Contents
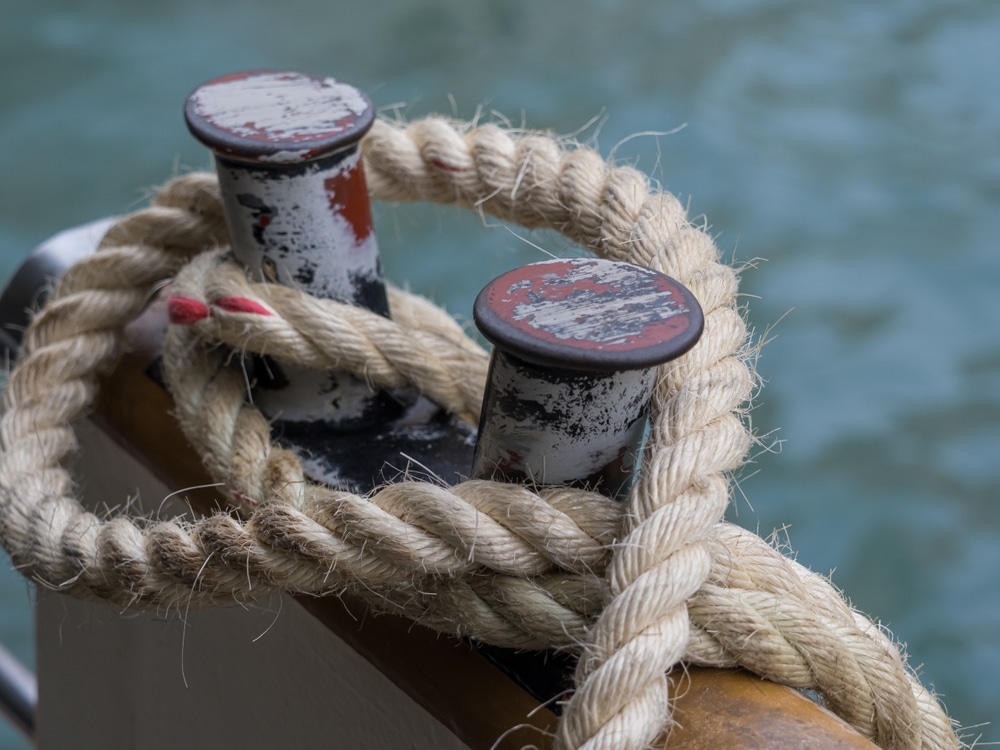
Who knew that tying knots would become a skill set that every sailor must know to master the ocean waves? And why exactly do you need knots for boating and sailing endeavors? It’s because, with the right tying techniques and precision, you can ensure your safety and efficient dealing in certain situations. From the stopper knot to the anchor bend, this article entails 11 essential boat knots for safe sailing. Now, learning to tie these knots is an art just like boat docking, and to become a pro, we are here to help you.
11 Boat Knots to Master
Calling all the novice sailors, you might know the importance of knots for sailing a boat. From anchor boat knots to boat rope knots and boat dock knots, we are here with each basic knot to ensure a safe and secure water excursion.
Bowline Knot
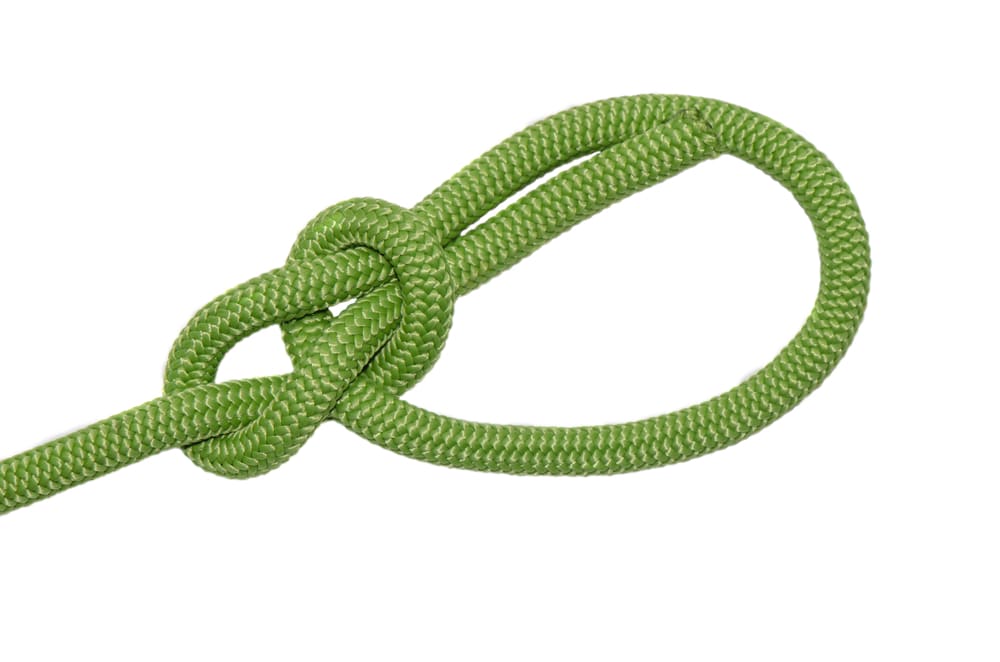
Purpose: Create a secure loop on a rope’s end.
Usage: Tying a line to a post, mooring a boat, or securing a sail or line are popular uses for this knot, which is extremely reliable. Its strength and versatility have earned it the title of “king of knots.”
Steps
- Leaving enough rope to fit the loop, form a small loop.
- From the underside, pass the working end through the loop.
- Wrap the line through the loop and back down around the standing portion.
- Pull the working end and standing portion at the same time to tighten.
Advantages: Even after being subjected to a load, the bowline knot is simple to tie and untie. Because it doesn’t jam or slip, it’s perfect for applications that require precision. This is the first answer to how to tie boat knots.
Clove Hitch Knot
Purpose: Securing a line to a pole, spar, or railing in the interim.
Usage: This knot is ideal for attaching fenders, a quick mooring line, or temporarily securing items because it’s easy to tie and untie. If there is irregular tension, it might slip, but it holds well when there is steady tension.
Steps
- Once around the post, wrap the line.
- Go over the standing portion and encircle the pole once more.
- Slide the working end beneath the additional wrap.
- Pull both ends to tighten.
Advantages: The clove hitch is easy and quick to tie, which is helpful when time is important. It should be watched, though, to make sure it doesn’t slide.
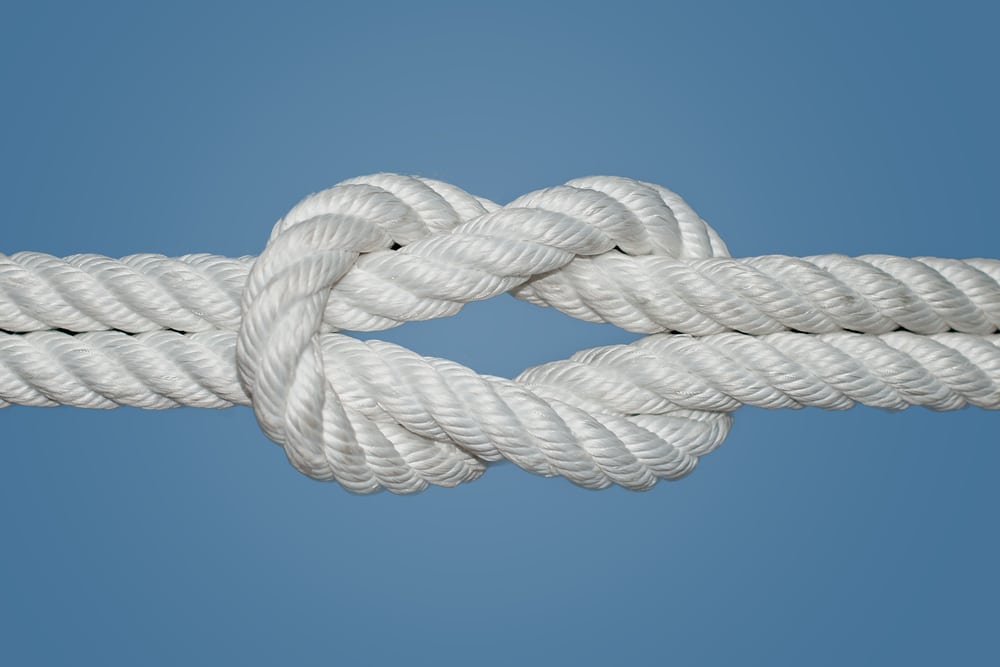
Figure Eight Knot
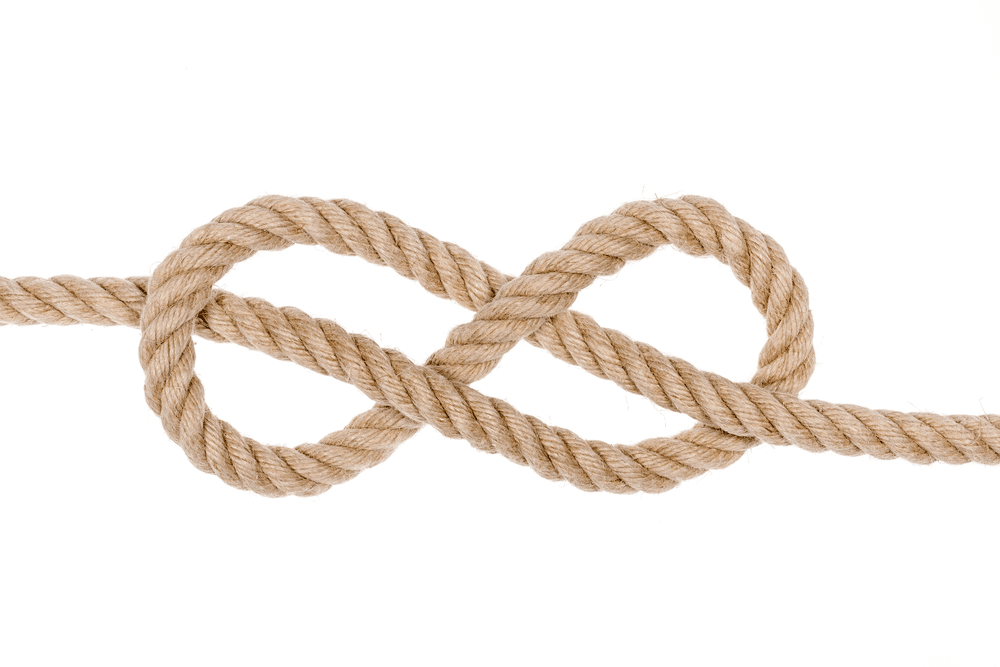
The purpose of the Figure Eight Knot is to keep the rope from slipping through a pulley or block. This is a great anchor knot for boats.
Usage: To keep ropes from unraveling or going through equipment, use this stopper knot at their ends. It’s necessary to secure lines on deck and keep things under control.
Steps
- Make the rope into a loop.
- Encircle the standing portion with the working end.
- Insert the working end into the first loop.
- Pull both ends to tighten.
Advantages: It is simple and dependable to verify the figure eight knot. Compared to other stopper knots, it jams less frequently, making it simpler to untie after loading.
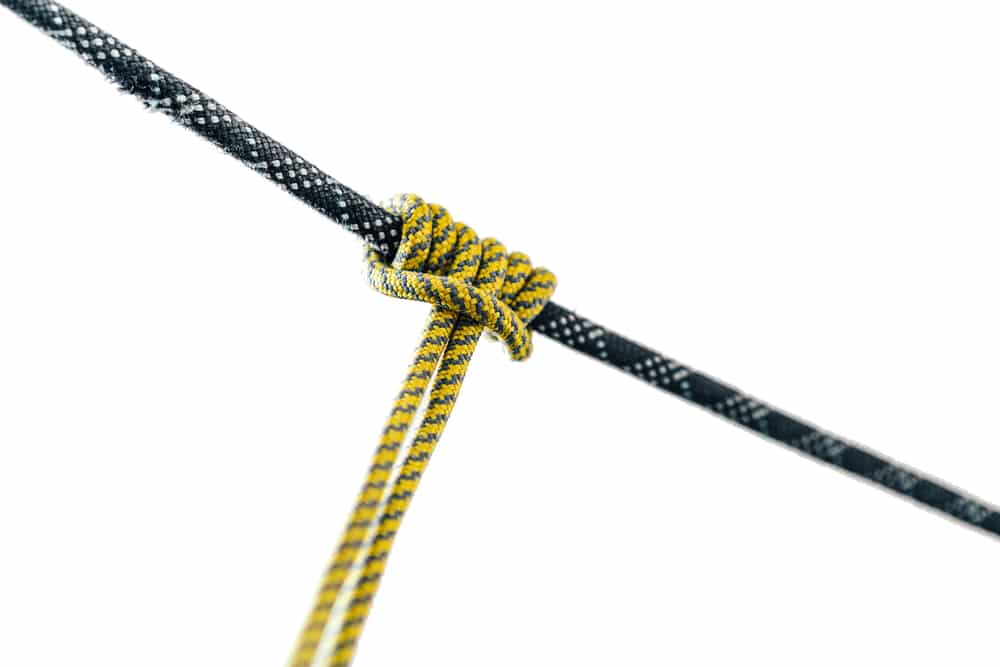
Sheet Bend Knot
Purpose: To connect two ropes with varying diameters; this is one of the best tying boat knots.
Usage: Joining two lines together with this knot works great for extending a line, especially if the ropes are of various thicknesses. It’s helpful for making temporary lines as well.
Steps
- Make a bend, or bight, in the heavier rope.
- Ensure the thinner rope’s working end is through the bight.
- Twist the line to encircle the bend and retract it beneath itself.
- Pull both standing sections to tighten.
Advantages: The sheet bend holds up well under stress and is flexible and safe. It comes in very handy when you have to connect different-sized ropes.
Square Knot (Reef Knot)
Purpose: Tying two rope ends together.
Usage: This knot is frequently used to reef sails to minimize their size, secure sails, and bundle things. This is a basic knot that every sailor should know.
Steps
- Cross and pass the right end beneath the left end.
- Cross and tuck the left end beneath the right end.
- Pull both ends to tighten.
Advantages: The reef knot has the advantage of being simple to tie and untie, which makes it appropriate for non-critical applications requiring a brief hold.
Cleat Hitch Boat Knot
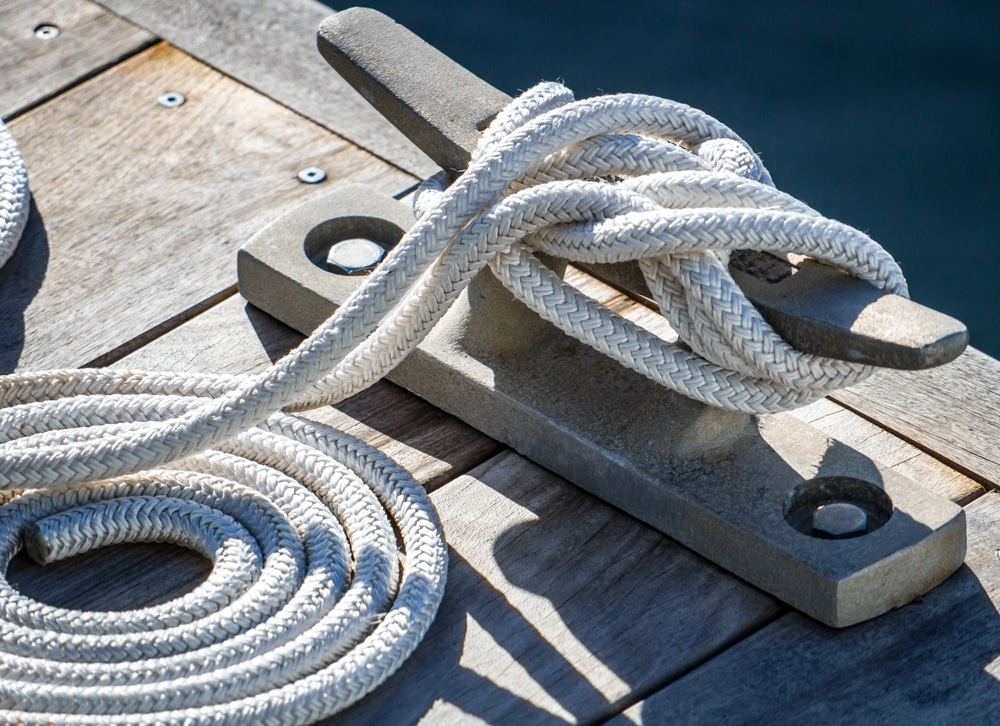
Purpose: Laying down a line to a cleat.
Usage: Docking and anchoring require the use of this knot. It guarantees that the boat is docked firmly and securely without slipping.
Steps
- Encircle the cleat’s base with the line.
- Wrap around the other side after crossing over the top.
- Encircle the cleat in a figure-eight pattern.
- Conclude by circling the cleat horn with a half hitch.
Advantages: The cleat hitch prevents the rope from slipping off the cleat when underweight. It ties quickly and holds firmly.
Round Turn and Two-Half Hitches
Purpose: Among the knots for boats, these are used to fasten a rope to a post or ring.
Usage: For mooring or fastening objects on deck, this knot is incredibly dependable. It is reasonably simple to tie and untie, and it can support a continuous weight.
Steps
- Rotate the post in a circular motion.
- Pass the working end around the standing portion to create a half hitch.
- Proceed in the same direction with a second-half hitch.
- Pull both ends to tighten.
Advantages: This knot is sturdy and reliable, making it perfect for mooring and other circumstances where a tight grasp is needed.
Rolling Hitch Knot
Purpose: Laying down a line or passing a line to a spar or another rope.
Usage: This knot is used to move a line under load without coming loose. It can be used to secure a line to another that is already under tension or to tension lines.
Steps
- Wrap the line twice around the spar or rope.
- On the second wrap, pass the working end under itself.
- Close the section that is standing with a half hitch.
- Pull the working end to tighten.
Advantages: The rolling hitch is ideal for tensioning applications since it can manage large loads and hold onto another rope. Now, learn to tie this boating sailing knot for a safe water trip.
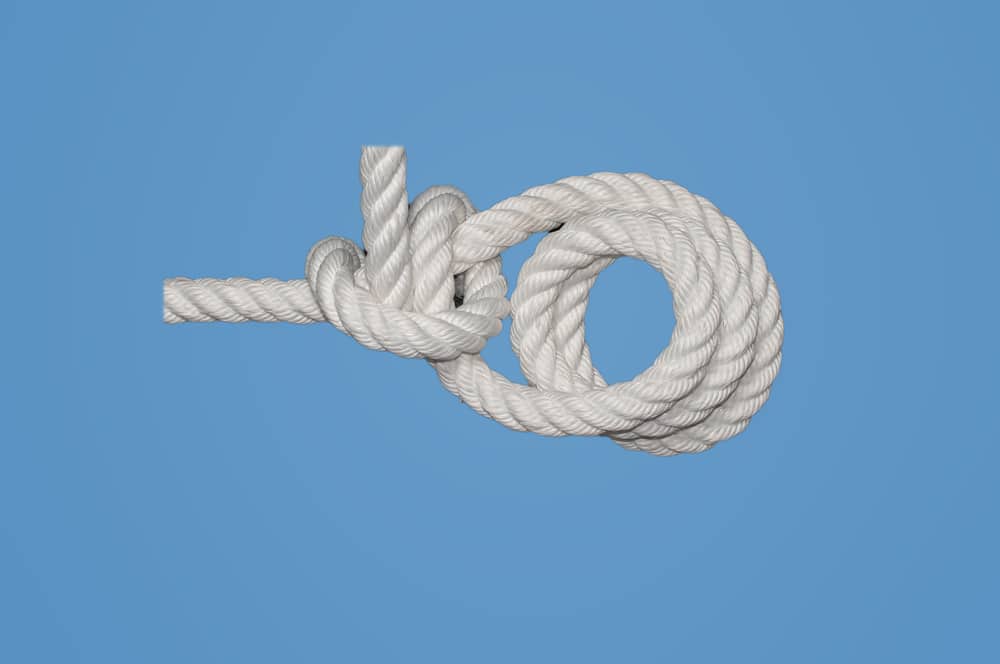
Anchor Bend
Purpose: The goal of the Anchor Bend (Fisherman’s Bend) is to secure a line to an anchor or ring.
Usage: This boat knot for docking is made specially to tie a rope to an anchor so that it doesn’t come loose when carrying large weights. Attaching lines to rings or other stationary places is another application for it.
Steps
- Wrap the line around the standing portion and through the ring.
- Turn in a circle and insert the working end inside the loop.
- Embrace the standing portion with two half-hits.
- Pull both ends to tighten.
Advantages: The anchor bend is perfect for anchoring because it is extremely secure and non-slip, even under extreme strain.
Double Fisherman’s Knot
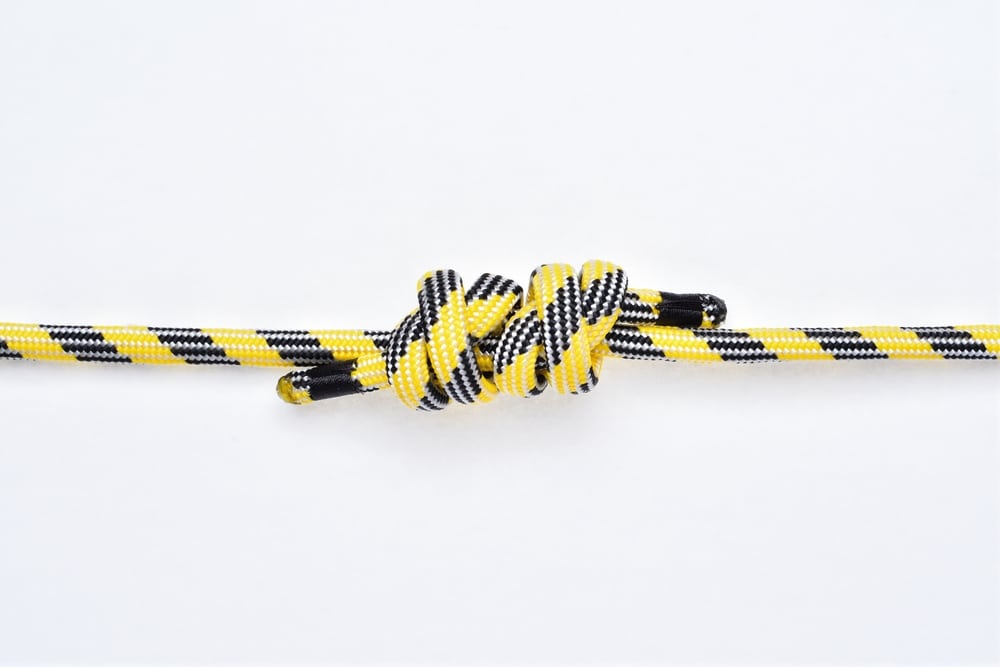
Purpose: To connect two ropes with comparable diameters.
Usage: Because of its strength and dependability, this anchorboat knot is often used in climbing and rescue operations. It firmly fastens two ropes together to create a strong bond that is challenging to undo when under strain.
Steps
- Wrap each rope around the other to tie a double overhand knot.
- To slide the knots together, pull the two standing sections.
- Pull both ends to tighten.
Advantages: Due to its strength and compact design, the double fisherman’s knot is a great choice for high-stress situations when a secure joint is needed. This knot for boating is ideal for dealing with various situations.
Before we move on to the next heading, let me tell you something: once you know how to dock boats and essential knots, you are one step closer to becoming a pro sailer. Want to know how to efficiently dock a boat? Here, have a look at this guide.
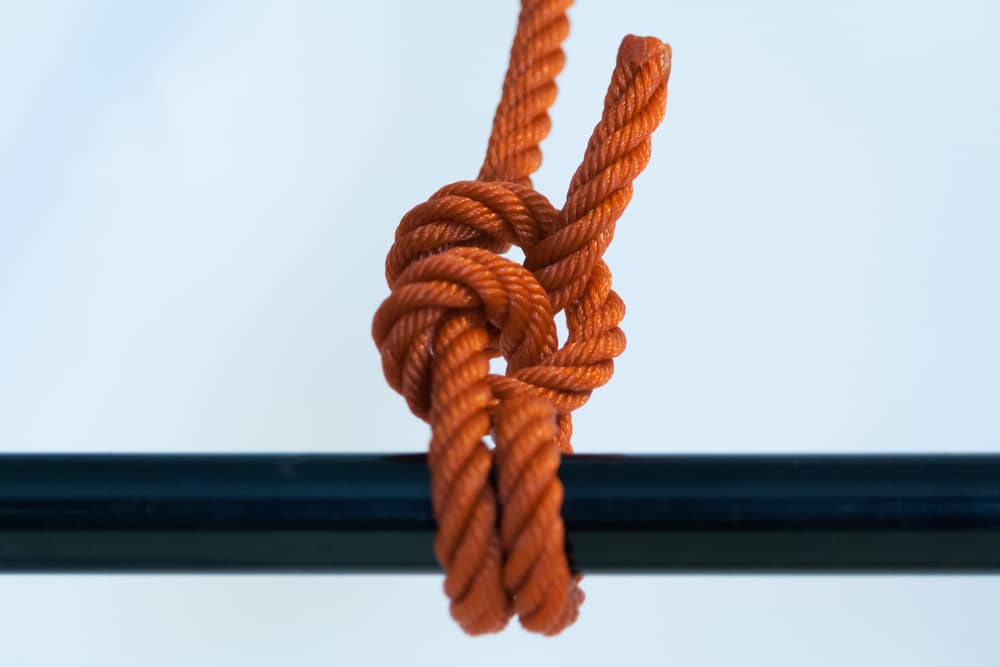
Prusik Knot
Purpose: To make an adjustable loop on a different rope.
Usage: To construct a mobile loop that slides when not under pressure but holds firmly when tensioned, climbers and rescue workers use this knot. It comes in handy when climbing or descending a rope.
Steps
- Use the rope to create a loop.
- Make three wraps of the main rope with the wrap of the line.
- Pull tightly after passing the loop through itself.
- To make changes, slide the knot.
Advantages: When loaded, the Prusik knot offers a firm grip and is very adaptable. In climbing settings, it is crucial to make adaptable and secure loops.
However, you can also check out essential skills to master sailing in this article.
Conclusion
Summing up, the article covered the top 11 knots to learn if you want a seamless boating experience. Read this article and get ready to sail skillfully with these efficient knots.
Safe Sailing!